Cinnamon Swirl Bread
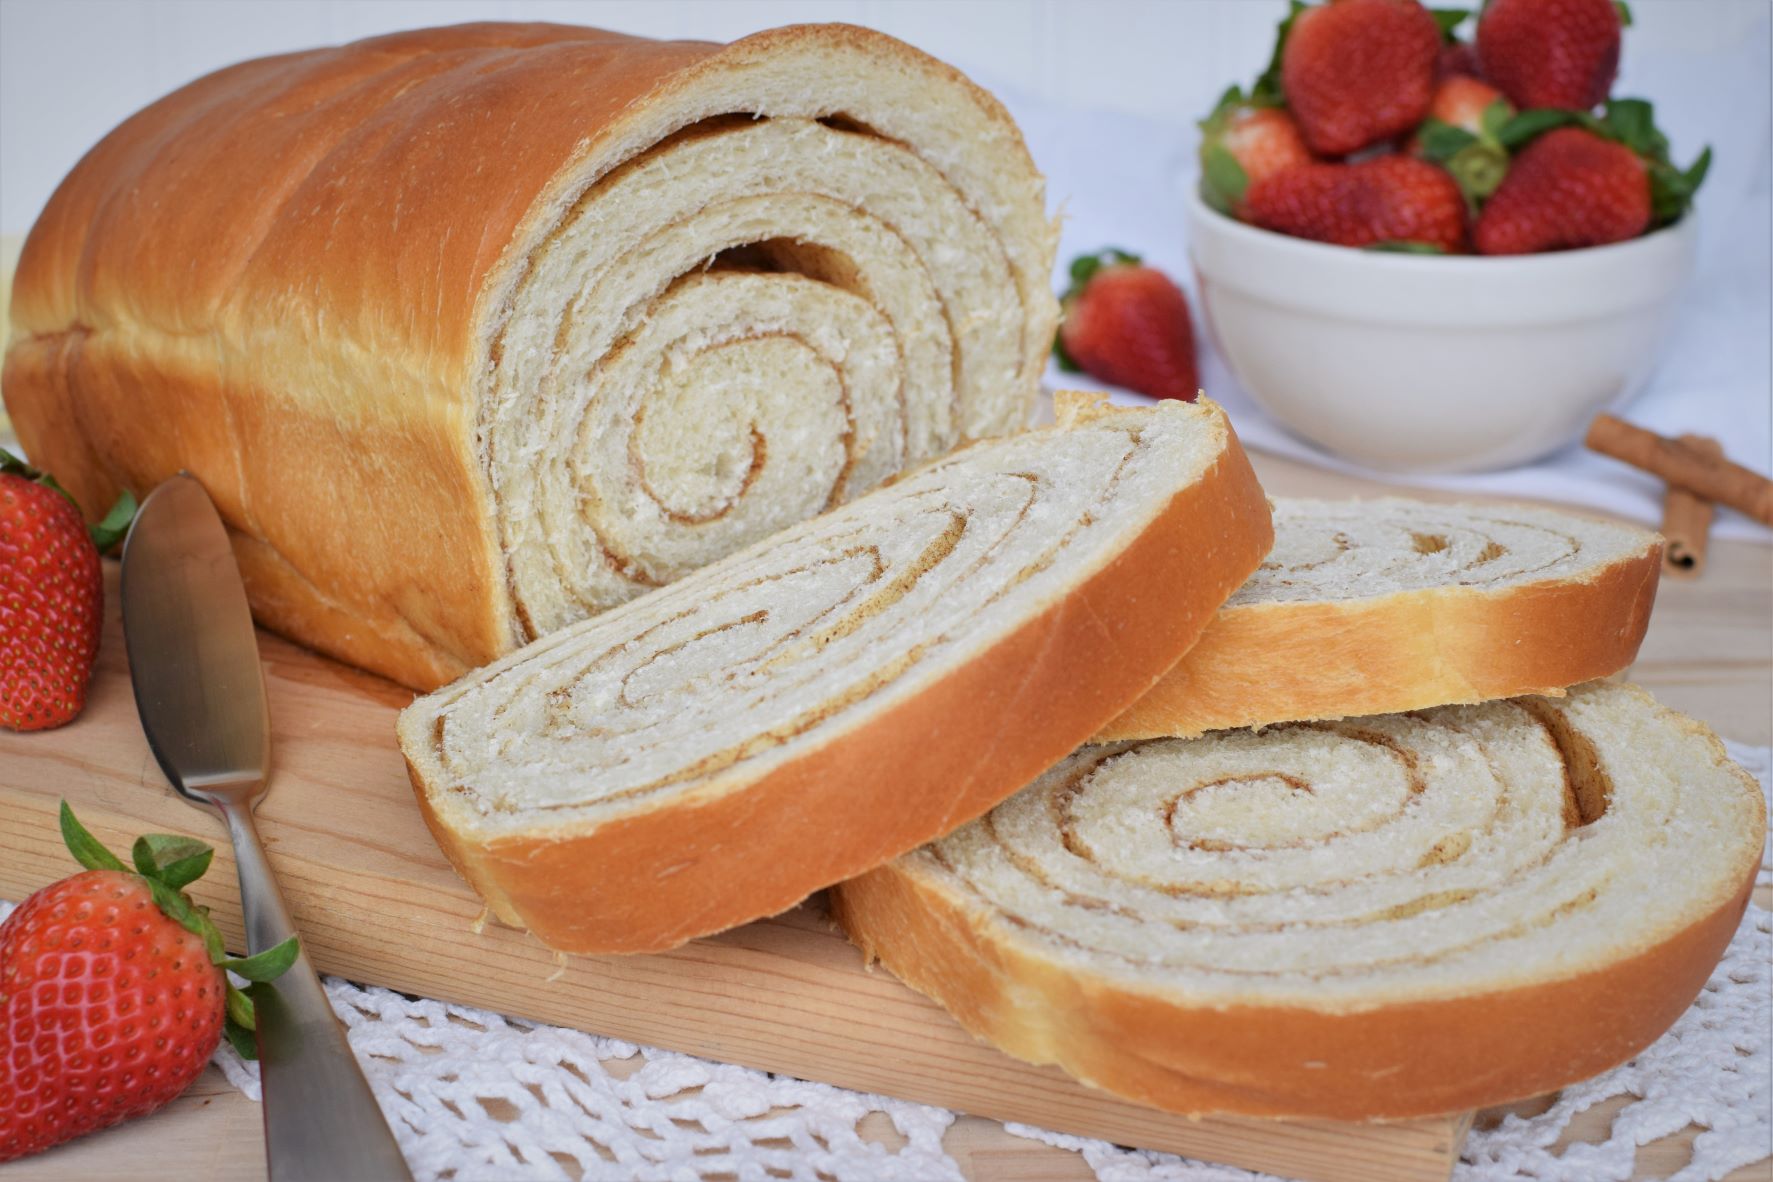
There is nothing better than the aroma of freshly baked bread – especially this Cinnamon Swirl Bread. I have seen a survey question several times along the lines of, “Which fragrance is the best.” There are some great options to be sure, especially the smell right after the rain and fresh just brewed coffee. However, unless you answer freshly baked bread – you are wrong – but we can still be friends. Add some cinnamon and brown sugar and holy moly if that isn’t the best aroma! Bake some of this Cinnamon Swirl Bread and you too can be surrounded by this heavenly fragrance, all your senses will thank you!
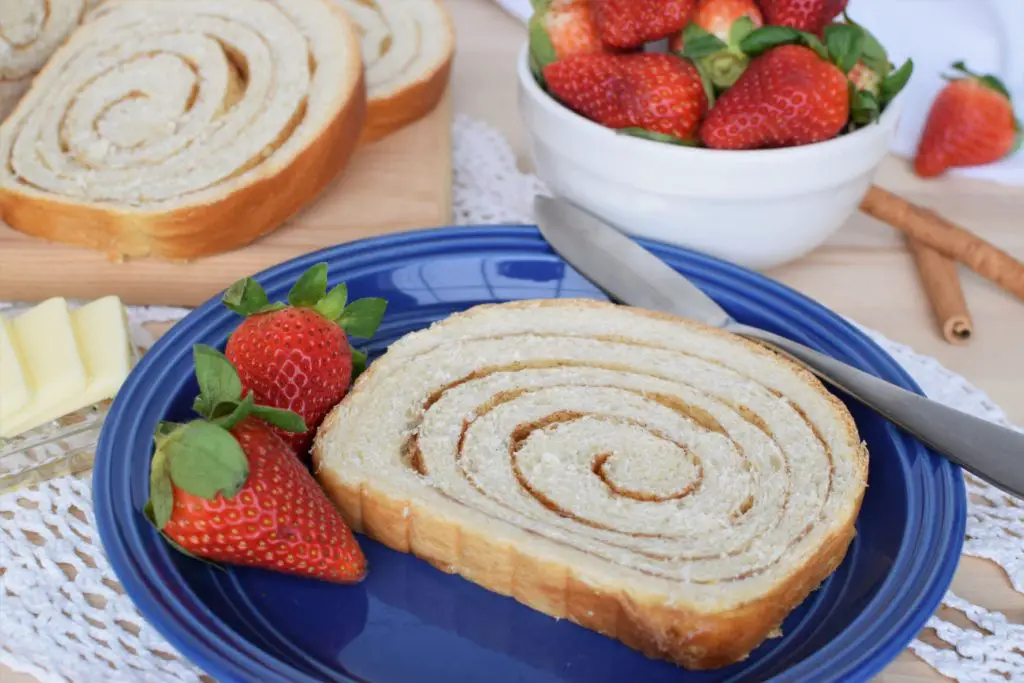
How to make Cinnamon Swirl Bread
Well, I’m glad you asked, because everyone should have easy access to one of life’s most glorious pleasures – a warm slice of this Cinnamon Swirl Bread spread with a little butter. Heaven.
To make this bread I took the tried-and-true Homemade Bread that I make every week (because it’s addictive) from iHeartNaptime and went from there. When you have a bread recipe that you know by heart and it always turns out incredibly tasty, of course this is what you want to stick with. If you haven’t tried this anything but basic tasting white bread from iHeartNaptime, I’m sorry. If I could bake everyone a loaf of this bread – I would – but I’d need a bigger kitchen.
Since this homemade bread dough is already full of flavor thanks to the melted butter, evaporated milk, and salt, I added just a bit more sugar to sweeten the loaf – just a touch – for the cinnamon swirl bread. Then added the brown sugar and cinnamon before rolling the dough up and placing it in the loaf pans.
Soft and Tender
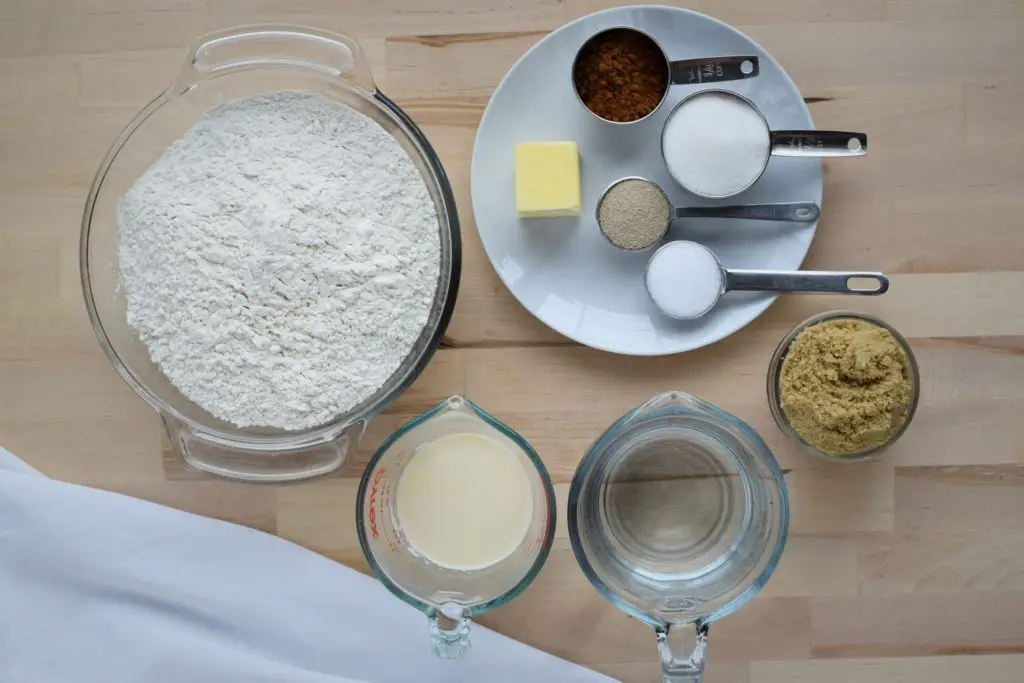
No, I am not referring to an embrace or a cheesy song from the 80s. I do admit however if bread could offer an embrace – I would be first in line! This ‘soft and tender’ is all about that bite of bread that will bring you back for the whole loaf. This Cinnamon Swirl Bread has that pillowy structure that holds up to cutting without crumbling or unraveling… unlike me most Monday mornings.
The evaporated milk and melted butter offer moisture that I have found lacking in most bread recipes I have trialed. Pair that with just that right amount of gooey cinnamon and sugar swirl and… POOF. The loaf will disappear before your very eyes – good thing there are two loaves. Use the first one you take out of the oven as your decoy. Hide in the laundry room with the laundry that needs to be folded with the second one. Family members will hesitate to seek you out there for fear of being brought “into the fold.” Oof, please don’t go, even I am sorry for that one.
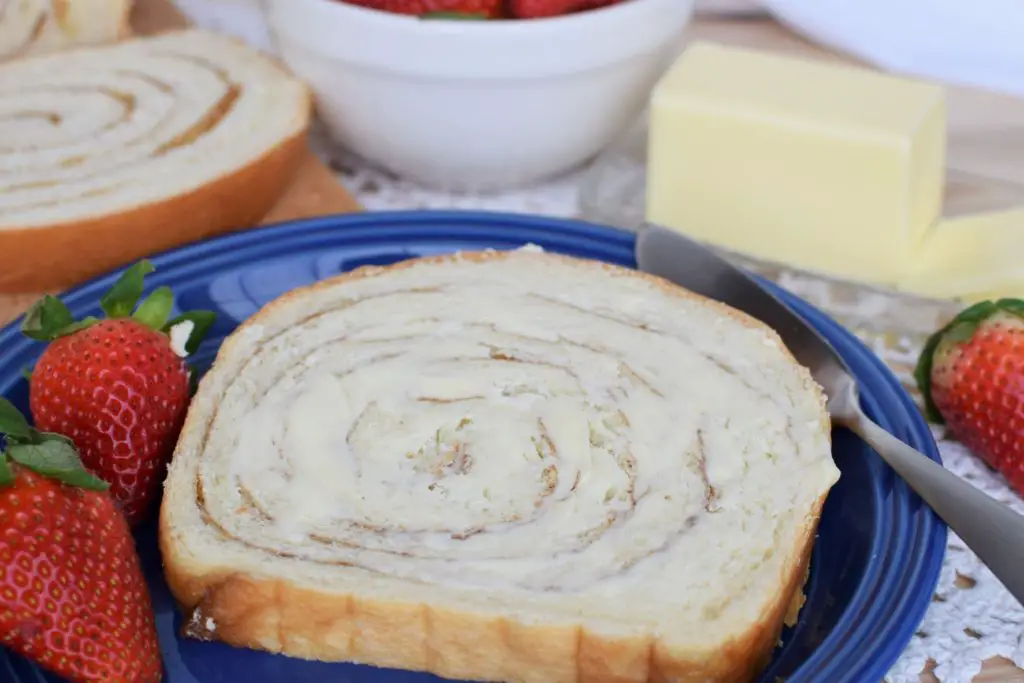
How to roll Cinnamon Swirl Bread
Just like in the original Homemade Bread Recipe, divide the bread dough in half, after the first rise. Then roll each half into a long rectangle with the width being about the length of your bread pan (about 9”) and then roll the length out to, well as far as you can easily get it. I am HORRIBLE at estimating measurements (as my husband can attest) so I would guess about 30” long – I had to check a measuring tape to get an estimate.
Then sprinkle, mostly evenly, the cinnamon and brown sugar mixture on the dough leaving a little edge without all the way around. That way you can pinch and smoosh your seams together, so you don’t lose all that delicious cinnamon sugar into the bottom of your loaf pan. If you do lose some, that’s okay, it just makes the bottom of the bread the best part!
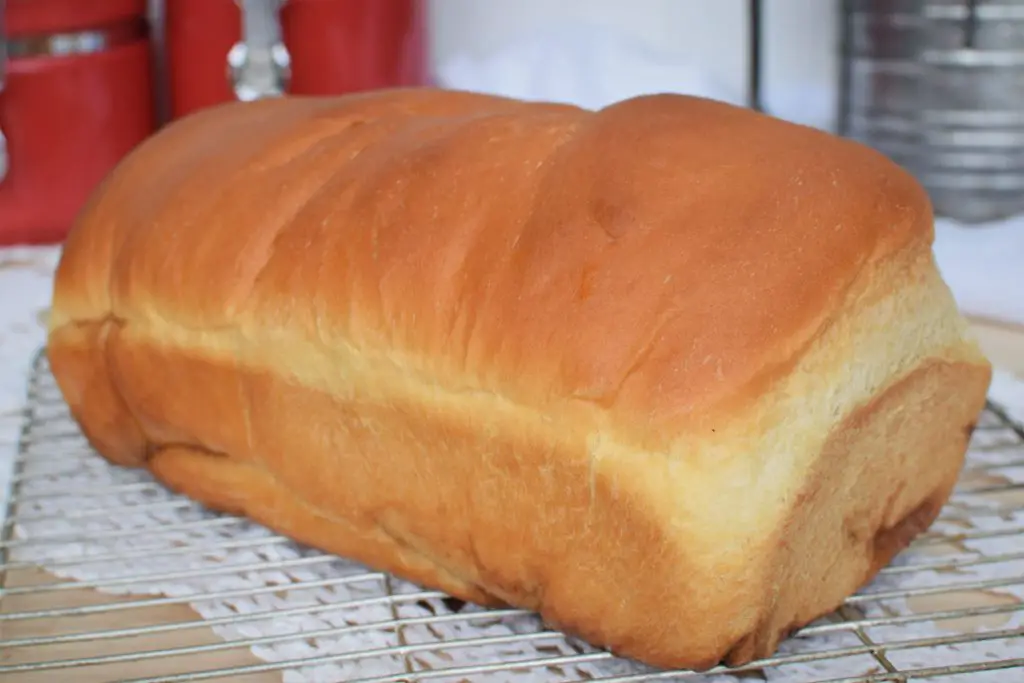
Then start at the narrow end and start rolling as tightly as you can, pulling back on the rolled part a little to keep tension as you go. The tighter you roll, as well as the more layers you are able to roll, the more swirl you will have throughout your bread. If you only roll the dough two or three times, for instance, you will get maybe just one or two lines of the swirl – no one wants that disappointment of missing out on the yumminess of the swirl in Cinnamon Swirl Bread. Stretch that baby out and celebrate the rolls!
Can you freeze Cinnamon Swirl Bread?
Yes, actually that is the best protection for the second loaf if you don’t want to devour it right away. You can wrap the loaf in cling film and then wrap it in foil. When you are ready to enjoy the Cinnamon Swirl Bread from the freezer, unwrap the foil and let the loaf thaw at room temperature on a cooling rack still wrapped in cling film.
How to eat Cinnamon Swirl Bread?
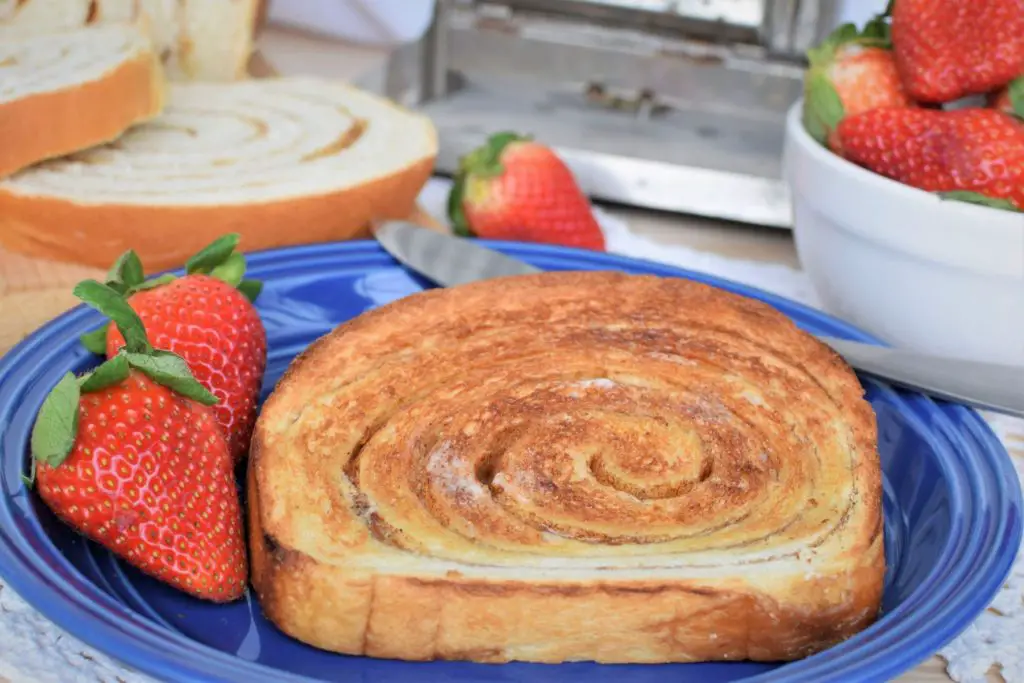
Any way and EVERY way possible!!! Sliced slightly warm from the oven, room temp, or toasted – with or without butter- it is HEAVENLY!
This bread is also not too sweet to be used for sandwiches. Cream cheese and jelly sandwich (it’s a thing!), ham and cheese, GRILLED CHEESE! Talk about upping your sandwich game to new heights!
Cinnamon Swirl Bread French Toast. Absolute perfection. I believe that is all I need to say on that delicious matter.
In summary, any way you eat this bread, you will be singing praises.
More Delicious Recipes
‘Four Cups of Zucchini’ Bread – Dairy Free
Cinnamon Applesauce Snack Cake
Raspberry Muffins with Crumb Topping
Cinnamon Swirl Bread
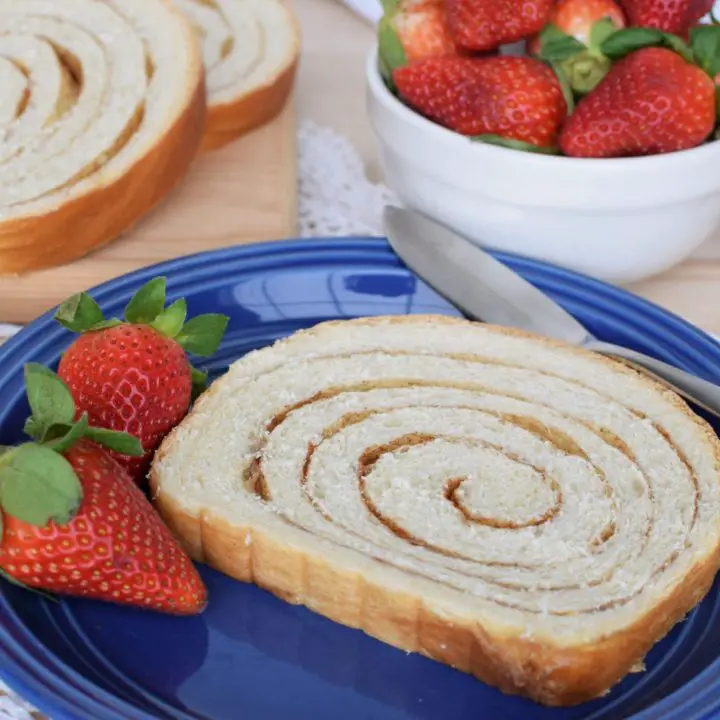
Tender, soft, and so delicious! Mildly sweet, with just the right amount of cinnamon and brown sugar swirl throughout the bread to make this great as is, toasted, made into French toast, or even sandwiches! One bite of this bread, and you will come back for the whole loaf!
Ingredients
- 2 cups warm water
- 2 1/2 tsp active dry yeast
- 1 Tbs granulated sugar
- 1/4 cup butter - melted
- 1 Tbs salt
- 1/4 cup + 2 Tbs granulated sugar
- 1/2 cup evaporated milk
- 6 - 7 1/2cups bread flour
- Butter for greasing pan and to top bread
- Swirl Ingredients
- 1.5 cups brown sugar
- 2 Tbs cinnamon
Instructions
- In a small bowl or 2 cup measuring cup, pour 2 cups warm (not hot) water, yeast, and 1 Tbs of granulated sugar. Let sit for 10 minutes or so as you gather the rest of your ingredients. When this mixture looks like a bubble bath, you will know it's ready.
- In a large bowl mix together your melted butter, salt, 1/4 cup + 2 Tbs granulated sugar, and evaporated milk. Once combined, mix in bubbly yeast mixture.
- Gradually start adding bread flour. Go ahead and add up to 3 1/2 cups, since your bread will absolutely need that much. Now if you are using a stand mixer (LOVE my KitchenAid) with a dough hook attachment and dough hook shield, make sure you have that on now (see note). If not, get ready to bust out those baker muscles.
- Mix in bread flour 1/2 cup at a time until around 5 cups. This recipe doesn't have a set amount of flour, because to achieve that perfect bread every time, you base it off of the dough texture. Touch the dough with a dry finger. If it feels sticky, but your finger comes away clean, it's perfect. Finger covered with dough - add more flour. Dough not very sticky and quite firm, add a little water.
- Continue adding flour 1/4 cup at a time until dough reaches the right consistency (as described previously). If you are using a dough hook, let dough knead for a couple minutes or until dough is smooth and comes away from the side of the bowl. If you are doing this by hand - God bless you and your strong muscles - knead dough until dough is smooth and elastic.
- Poor a a couple TBS of neutral oil (canola, vegetable, melted coconut oil, or safflower oil) into a large bowl and spread it around with your fingers to grease the inside of the bowl*. Plop your dough into your greased bowl and swirl it around and then flip that dough baby over. This ensures that all parts of your precious dough ball have a coating of oil to keep the dough from drying out.
- Place your dough ball covered with a flour sack towel in a room temp location without a draft*. I often put it in or on top of the oven depending on where I need the space. Let dough rise until doubled in size, about 1.5 hours.
- While your dough is rising, in a small bowl mix together your brown sugar and cinnamon for the swirl filling. Prepare your bread pans by generously buttering the insides all around.
- Punch your pillowy ball of dough down and turn it out onto a lightly floured surface. Now the second best part of making this bread - with eating it being the best of course - is kneading it! I think there is something so therapeutic about kneading bread. Especially this bread, because you can't really go wrong. Knead for a couple minutes to get the biggest of the air bubbles smooshed and stretch the gluten some more.
- Then halve your lovely ball of dough into two equal(ish) halves. Roll the first half out into roughly a 9" by 30" rectangle. Then sprinkle, mostly evenly, half of the cinnamon and brown sugar mixture on the dough leaving a little edge without all the way around. That way you can pinch and smoosh your seams together, so you don’t lose all that delicious cinnamon sugar into the bottom of your loaf pan. If you do lose some, that’s okay, again, it just makes the bottom of the bread the best part!
- Then start at the narrow end of the rectangle and start rolling as tightly as you can, pulling back on the rolled part a little to keep tension as you go. See post for more instruction.
- Pinch and smoosh the seems together as well as the ends. Place roll, seam side down in one of the prepared baking pans, tucking ends under a bit if roll is too long for the pan.
- Repeat with second half of dough.
- Place bread pans with loaves once again in a room temp location covered with a flour sack towel. Allow dough loaves to rise again until doubled, about 1 to 1.5 hours.
- When dough is getting close to doubled, preheat oven to 375 degrees Fahrenheit. (Friendly reminder to make sure your loaves aren't in the oven when you are preheating it!)
- Bake loaves on the middle rack for 28-35 minutes. Check loaves around 20-25 minutes, and if browning too quickly, cover with foil. When loaves are done, remove from the oven and brush with melted butter (or skip a step and just rub a little of a stick of butter on the hot loaf - voila buttered!)
- Once buttered, remove loaves from pans and allow to cool on cooling racks. I often don't make it until they are cooled completely before slicing the first loaf, but wait until it isn't piping hot at least so the swirl stays in the bread when you cut into it. 🙂
- Enjoy warm or cold, with or without butter, toasted, as French toast, or even up your sandwich game - see post for more ideas!
- Bread will last at room temperature, in a bread bag or wrapped in cling film, for up to 5 days, or a week or more in the fridge. We have never managed to save any longer than that to test it. Bread freezes great wrapped in cling film and foil. See post for more information on freezing bread.
Notes
I love using my Kitchen aid stand mixer and the dough hook attachment for easy bread making, however, I always struggled with the dough creeping up the hook. I got this dough hook shield and it allowed me to knead the dough longer, without the dough and the mixer becoming one big mess. Friendly tip that took me way too long to figure out. 🙂
*For a plain (no swirl) loaf of homemade bread I frequently put my dough in a slightly warm place, but I have found with the swirl bread, if you get the dough too warm to start, then it melts the brown sugar quickly during the second rise instead of when baking. Not really a huge problem, you just get lots of yumminess in the bottom half of your bread.
Nutrition Information:
Yield: 24 Serving Size: 1Amount Per Serving: Calories: 228Total Fat: 4gSaturated Fat: 2gTrans Fat: 0gUnsaturated Fat: 1gCholesterol: 8mgSodium: 300mgCarbohydrates: 44gFiber: 1gSugar: 13gProtein: 6g
This information was obtained using an ingredient calculator to provide an idea of nutritional value. To obtain the most accurate numbers for nutrition information of any recipe, you should figure the nutritional information with the ingredients you used in the recipe. Each individual user is responsible for making sure that any nutritional information used is correct.